Master The No-Gi Half Guard And Attack Systematically With Moves Anyone Can Use For Rapid Skill Development From The Best No-Gi Grappler On Earth, Gordon “The King” Ryan
Use this never-before-shown half guard system of Gordon “The King” Ryan, with sweeps, back takes, and leg lock entries that he has perfected for no-gi grappling
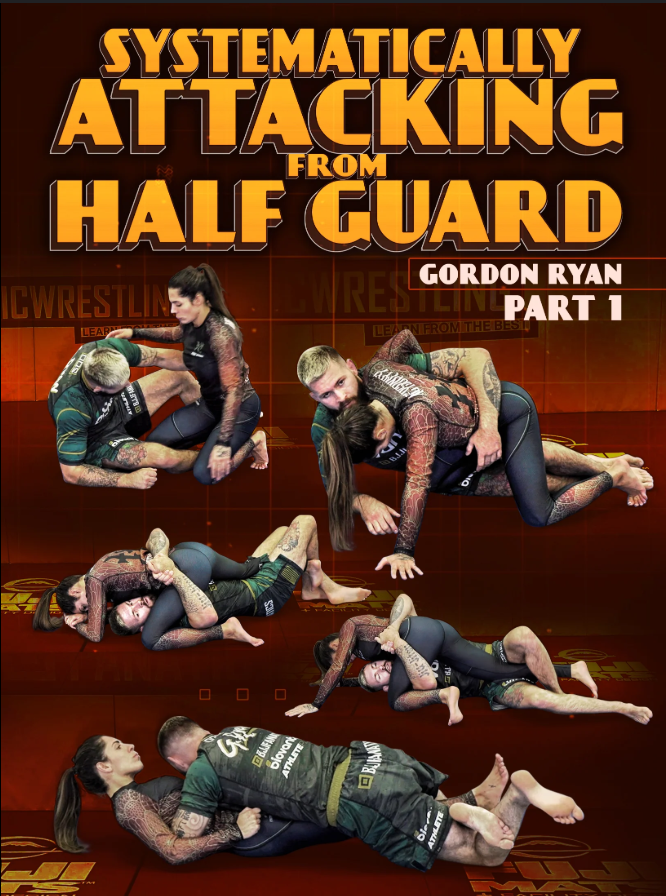
Use knee shields, half butterfly guard, deep half, scorpions, and more as Gordon takes you through the half guard configurations that work best for him
Gordon shows every detail of this system, breaking down goals, techniques, combinations, and strategies for faster development and more success from your back
Pummel and grip for no-gi with underhooks, cross shoulder posts, pinch headlocks, shoulder crunches, and more, with techniques broken down so grapplers of all ages and levels can use them
Gordon Ryan is the ADCC Absolute Champion and one of the best no-gi grapplers of all time, and the consensus best active no-gi grappler competing today
See Gordon rolling in the gym from half guard and then watch as he breaks down that footage in real-time to explain the system in action
Volume 1
CHAPTER TITLE
START TIME
Overview of the Half Guard Series
4:52 – 7:23
Advantages and Disadvantages to Butterfly Half Guard
7:23 – 11:36
Advantages and Disadvantages to (Low/High) Knee Shield
11:36 – 16:19
The General Battle for Inside Position
16:19 – 23:06
Denying Head Control
23:06 – 27:24
Framing Effectively
27:24 – 31:37
The Centerline Shift Dilemma
31:37 – 37:59
Moving From a Cross Shoulder Post to an Underhook
37:59 – 42:57
Basic Switch to Sumi Gaeshi
42:57 – 50:18
Entering the Near Leg Irimi Ashi
50:18 – 57:23
Importance of Switching Legs
57:23 – 1:04:49
Underhook to Far Leg Irimi Ashi
1:04:49 – 1:08:47
Underhook to Cross Ashi
1:08:47 – 1:15:31
Introduction to a Scoop Grip
1:15:31 – 1:20:07
Using a Scoop Grip to Enter X Guard
1:20:07 – 1:23:22
Using a Scoop to Enter Near Leg Cross Ashi
1:23:22 – 1:27:45
Using a Scoop to Spin to Far Leg Cross Ashi
1:27:45 +
Volume 2
CHAPTER TITLE
START TIME
Pinch Headlock to Shoulder Crunch
6:14 – 11:04
Pinch Headlock Entering the Legs
11:04 – 13:36
An Overhook Sumi Gaeshi
13:36 – 16:32
Failed Overhook Sumi Gaeshi Enter the Legs
16:32 – 23:33
A Special Gift
23:33 – 25:08
Stalling From a Butterfly Half Guard
25:08 – 32:07
Butterfly Half to Arm Drag
32:07 – 35:59
Failed Arm Drag To Knee Lever
35:59 – 43:51
Failed Knee Lever Switch to Sumi Gaeshi
43:51 – 51:56
Failed Knee Lever Re-drag
51:56 – 55:59
Failed Arm Drag Enter the Legs
55:59 – 59:39
Entering Kimuras From Butterfly Half Guard
59:39 – 1:03:20
Putting it Behind the Back
1:03:20 – 1:11:17
Counter to a Hip Switch
1:11:17 – 1:16:02
Separating the Hands
1:16:02 – 1:21:40
Failed Kimura Enter the Legs
1:21:40 – 1:27:33
Closing Out the Kimura Series (Butterfly Half)
1:27:33 +
Volume 3
CHAPTER TITLE
START TIME
Introduction to the Lower Leg Shift
6:36 – 16:08
Transitioning From Half Guard to a Lower Leg Shift
16:08 – 19:06
Basic Sweep From Lower Leg Shift
19:06 – 23:42
Failed Sweep Back Take
23:42 – 27:19
Coming Up From a Lower Leg Shift
27:19 – 31:31
Options From Underhook Versus Whizzer
31:31 – 34:40
Countering the Whizzer with the Roll
34:40 – 40:04
Partner Counters The Roll, Take the Back
40:04 – 43:53
Opponent Wins the Battle for Knee Position Enter Hiza Gatame
43:53 – 46:02
Countering a Backstep From a Lower Leg Shift
46:02 – 55:31
Reiterating Pinch Headlocks and Moving Back to a Butterfly Half
55:31 – 1:00:15
Opponent Gets an Underhook Switch Back to Butterfly Half
1:00:15 – 1:02:16
Opponent Gets Underhook Move to Triangle
1:02:16 – 1:10:53
Opponent Crushes Knees Together Re-guard With High Knee Shield
1:10:53 +
Volume 4
CHAPTER TITLE
START TIME
Key Differences Between Locking a Kimura (Butterfly Half) Versus a Knee Shield
6:57 – 16:20
Far Arm Drag
16:20 – 22:37
Opponent Counters Far Arm Drag with Darce, Enter Knee Lever
22:37 – 27:19
Partner Postures Out of Arm Drag Entering Far Leg Outside Ashi
27:19 – 33:24
Extreme Staller Pumping the Legs to Create Opportunity
33:24 +
Volume 5
CHAPTER TITLE
START TIME
Opponent Puts Far Knee Down Enter the Legs
8:21 – 14:39
Opponent Puts Near Knee Down, Force the Far Knee Down
14:39 – 16:47
Opponent Puts Near Knee Down, Enter the Near Leg
16:47 – 21:07
Near Knee Down Enter Ashi on the Far Leg
21:07 – 25:10
Opponent Puts Near Knee Down, Exit Through the Back
25:10 – 28:55
Failed Back Attack, Chase the Legs
28:55 – 32:25
Countering a Backstep
32:25 – 37:47
Sweeping an Opponent Who Steps Over the head
37:47 – 41:51
Entering Deep Half Guard From Outside Foot Position (Far Knee Down)
41:51 +
Volume 6
CHAPTER TITLE
START TIME
Heisting From a Scorpion
4:55 – 8:56
Using a Scorpion to Pass the Leg Across
8:56 – 13:46
Using a Scoop Grip to Sweep Backwards
13:46 – 18:10
Countering Opponent’s Underhook
18:10 – 24:39
Using an Overwrap to Sweep Forward
24:39 – 29:38
The Scorpion/Lower Leg Shift Dilemma
29:38 – 35:10
Locking a Scorpion When Opponent Puts Near Knee Down
35:10 – 37:28
Returning Opponent’s Far Leg to the Floor
37:28 – 41:14
Countering a Knee Slip with Hiza Gatame
41:14 – 46:23
Countering a Far Hip Knee Slip With an Inside Elbow
46:23 – 49:54
The Waiter Sweep Dilemma
49:54 – 59:17
Taking the Back When Opponent Steps Over the Head
59:17 – 1:08:56
Back Take/Sweep Dilemma
1:08:56 – 1:12:48
Pommeling a Leg Back Inside From Outside foot Position